

To set up a hostel room properly, do it in this order: inspect, clean, bed, cupboard, desk, decor. The whole thing takes about four hours on move-in day, and doing it in that sequence is what stops you redoing the room three weekends in a row.
Most students dump their bags, shove clothes into the cupboard, and call it done. Two weeks later they cannot find the charger, the mattress smells, and the desk is buried under a pile of random stuff. This guide walks through a first day hostel room setup, hour by hour, so the room works from night one.
If you have not packed yet, run through the hostel room essentials checklist first. It covers everything worth carrying.
Key takeaways
- Inspect before you unpack. Fifteen minutes of walkthrough protects your caution deposit at checkout.
- Clean first, always. The room was someone else's space until this morning.
- Set up in order: bed, then cupboard, then desk. Sleep zone first, study zone last.
- A ₹1,500 kit of shelf dividers, hooks, a clip lamp, and cable clips does more than ₹5,000 of decor.
- Have the five-minute roommate conversation on day one. It prevents most of the friction that shows up in month two.
What your day-one kit should contain
Carry these ten items in a separate bag you can open first, because digging through a suitcase for a screwdriver at 9 PM is how setup days go wrong. Everything here is available at any local hardware shop or on Amazon for under ₹1,800 total.
| Item | Why you need it on day one | Typical cost |
|---|---|---|
| Padlock with two keys | Hostel-issued locks are often shared-key or flimsy | ₹150 to ₹350 |
| Multi-plug extension board (4 to 6 socket) | Most hostel rooms have two working sockets | ₹250 to ₹450 |
| Shelf dividers (set of 4) | Stacks collapse within two days without them | ₹150 to ₹250 |
| Adhesive wall hooks (pack of 6) | Towel, bag, ID lanyard, no drilling needed | ₹100 to ₹200 |
| Cleaning kit (spray, wipes, cloth, dustpan) | You cannot borrow this on move-in day | ₹180 to ₹250 |
| Clip-on study lamp | Lets you work after lights-out without disturbing anyone | ₹400 to ₹1,200 |
| Baking soda (small pack) | Deodorises the mattress in 10 minutes | ₹40 to ₹60 |
| Cable clips or velcro ties | Stops the charger tangle before it starts | ₹80 to ₹150 |
| Mattress protector | Keeps sweat and spills off a mattress you did not buy | ₹300 to ₹700 |
| Small screwdriver and measuring tape | Loose latches, wobbly shelves, checking cupboard width | ₹120 to ₹200 |
What to do: buy this kit before you travel, not after you arrive. On move-in weekend every shop near a hostel is crowded and prices go up.
Before you start: the 15-minute walkthrough
Do not unpack anything yet. Walk the room first and note every problem, because anything you fail to report on day one becomes your fault at checkout.
- Check the mattress. Flip it. Look for stains, bed bug lines along the seams, and sagging in the middle. If it is bad, request a replacement in writing or plan to buy a mattress topper.
- Test the fan and lights. Flip every switch. Check whether the tubelight flickers and whether the fan regulator actually changes speed.
- Open the cupboard. Wipe the shelves. Check the lock and hinges. Bring your own padlock if the provided one feels light.
- Check the switchboard. Count the sockets and note which ones work. Decide now where the phone and laptop chargers will live.
- Test the tap and flush. Run the bathroom tap, flush the toilet, check water pressure, and ask the warden about water supply timings.
- Look for damage. Scratched walls, a broken window latch, a missing hook, a cracked tile. Report it to the hostel office today.
What to do: photograph everything, including the things that look fine, and message the pictures to the hostel office or warden the same day. A timestamped WhatsApp message is the strongest evidence you will have when the deposit is settled.
Hour 1: clean and prep the room
Clean before you unpack, because once the bags are open you will not go back and do it. Your room was used by someone else, and even if it looks clean, it is not your kind of clean.
What to clean
- Mattress: sprinkle baking soda, let it sit for 10 minutes, then brush it off. Lay the protector and bedsheet on top.
- Desk and shelves: wipe with a damp cloth and let dry. Line shelves with newspaper or contact paper for a clean base.
- Floor around your bed: sweep or mop, focusing under the bed and in the corners where dust collects fastest in shared rooms.
- Cupboard interior: wipe every shelf, then leave the doors open to air out while you work on something else.
- Window and grill: ten minutes here changes how much natural light the room gets for the rest of the year.
Total cost of a basic cleaning kit is under ₹200. For a weekly routine that takes 30 minutes, see the hostel room cleaning guide.
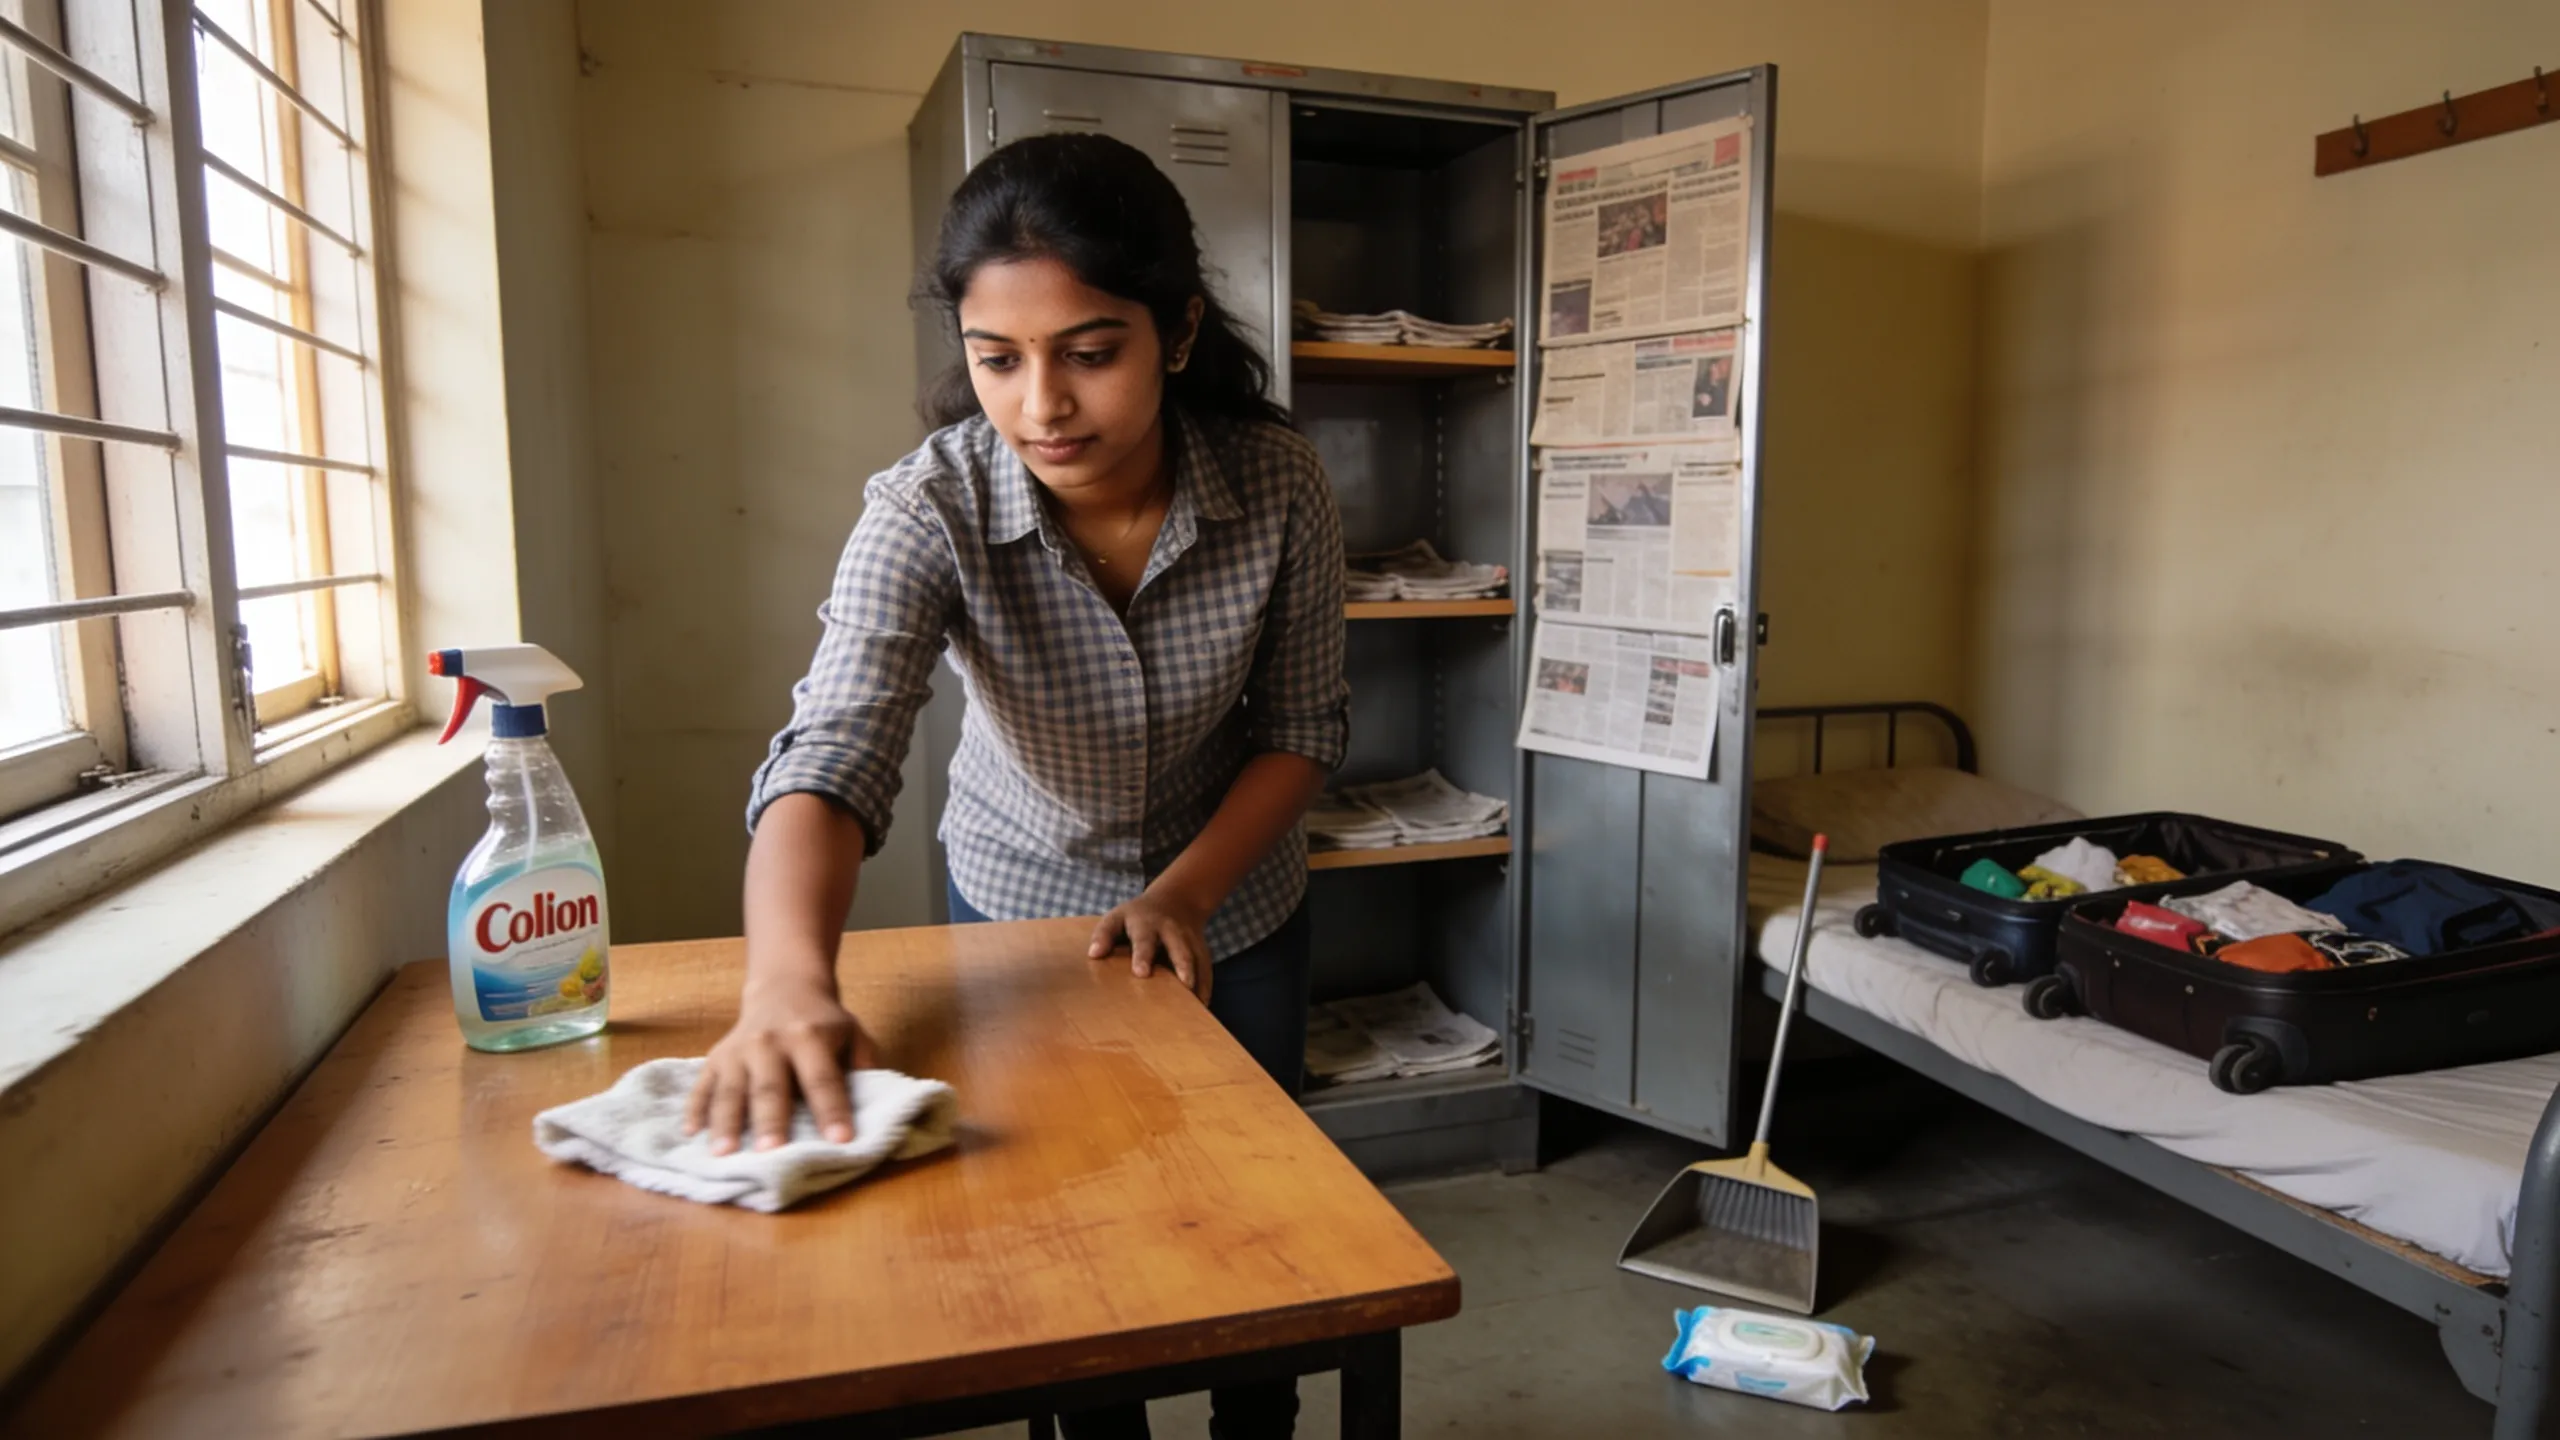 Fifteen minutes of cleaning on day one saves you from weeks of living with someone else's dust.
Hour 2: set up your bed and sleeping zone
Build the sleeping zone before anything else, because you will use it within hours whether or not the rest of the room is done. This is also the part of the room that decides how well you function in week one.
- Lay the mattress protector. This keeps sweat and spills off a mattress that is not yours and will be inspected at checkout.
- Spread the bedsheet. Tuck the corners under the mattress so it does not bunch up by the third night.
- Set up the pillow. Hostel pillows flatten fast. Stack two or carry your own.
- Hang a bedside caddy or place a small pouch for phone, earphones, water bottle, and glasses. This single item stops the nightly floor search.
- Attach a clip-on study lamp. Clamp types work best on metal bed frames. The study lamp guide covers picks under ₹1,200.
- Fix a small hook at the head of the bed for a charging cable so your phone is not on the floor overnight.
If you are on a bunk bed, claim the side with switchboard access. Top bunk gets more air and more privacy. Bottom bunk gets easier access and does not need a climb at 2 AM. Pick based on which matters more to you, and settle it with your roommate on day one rather than by default.
Hour 3: organise your cupboard and clothes
Sort clothes into zones before anything goes into the cupboard, because if you shove everything in at once you will reorganise it three times in the first month.
A cupboard layout that works
- Top shelf: items you rarely reach for. Extra bedsheet, formal clothes, seasonal wear, spare bag.
- Eye-level shelf: daily wear. T-shirts, jeans, kurtas. Stack vertically in the file fold so you can see every item without digging.
- Bottom shelf or drawer: undergarments, socks, gym clothes.
- Cupboard door hooks: towel, belt, ID lanyard, cap.
- Cupboard floor: a small shoe rack or a bag holding shoes, kept off the room floor.
- A lockable corner: documents, spare cash, hard drive. Keep this in one place you can grab in 30 seconds.
Use shelf dividers to split each shelf into zones. Without them, stacks collapse within two days and the whole system falls apart. For deeper storage strategy, the hostel room storage hacks guide goes further.
Toiletries and the daily kit
Keep the toiletry bag packed and ready to grab. A hanging toiletry organiser beats a plastic bag because it dries faster and keeps a wet razor away from your toothbrush. Hang it on a hook near the bed or inside the cupboard door.
What to do: keep a second mini kit with just toothbrush, paste, soap, and a small towel. On mornings when the main bathroom queue is long, you can use a different floor without repacking.
Hour 4: set up your study zone
Set up the desk on day one even though you have no work yet, because this is the step most students skip and then regret during the first assignment week.
Desk setup checklist
- Clear the desk completely and wipe it. Start from zero rather than working around whatever was left behind.
- Place the laptop in the centre with the screen at eye level. A stack of books works as a laptop stand until you buy one.
- Set up a desk organiser for pens, sticky notes, charger cable, and earphones. Every item gets a slot.
- Route the cables with clips along the desk edge so nothing tangles or hangs into your legs.
- Position the study lamp to the left if you are right-handed to avoid hand shadows, and to the right if you are left-handed.
- Stick a mini whiteboard or corkboard on the wall above the desk for deadlines, the mess menu, and the warden's number.
If the hostel desk is unusable, a portable laptop desk that sits on the bed works as a temporary fix for around ₹800. For the full study zone blueprint covering lighting, noise control, and focus tools, check the study corner setup guide.
The last 30 minutes: personal touches and introductions
Make it yours
String up fairy lights, pin a few photos, put one small plant on the desk. About ₹300 of budget decor is enough to make a hostel room feel like your space rather than a transit point, and that shift matters more in homesick week two than it sounds now.
Introduce yourself to your roommate
Have a five-minute conversation on day one, before any habit becomes an unspoken grievance. Cover four things:
- Sleep schedule. "I usually sleep by midnight, is that okay for you?"
- Study habits. "I study late sometimes. I will use a lamp, not the main light."
- Noise preferences. "I use headphones for music. Works for you?"
- Shared items. "Happy to share the extension board. Tell me if you need anything."
This conversation prevents most roommate friction. For more on shared living, read the hostel room privacy solutions guide.
What to do when the room has a problem
Report every problem the same day in writing, because verbal complaints on move-in day are forgotten by the time the office is handling 60 other students.
- Fan not working or wobbling: raise a written complaint immediately. In most Indian hostels this is a same-week fix, but only if it is logged.
- Sagging or stained mattress: ask for a replacement first. If the answer is no, a ₹1,200 to ₹2,500 topper is the practical fix and it moves with you next year.
- Broken cupboard lock: do not wait. Buy your own padlock the same evening and keep valuables locked from night one.
- Only one working socket: a surge-protected extension board solves it. Never daisy-chain two boards together, that is how hostel wiring burns.
- Damp patch or seepage on the wall: photograph it and report it before you place any furniture or books against that wall.
Common day-one mistakes to avoid
- Unpacking before inspecting. Once your things are out, proving pre-existing damage becomes almost impossible.
- Buying decor before storage. Dividers, hooks, and a lamp change your daily life. Fairy lights do not.
- Taking the last empty bed without checking. If two beds are free, pick the one away from the door and closer to a socket.
- Leaving documents loose. Keep the admission letter, ID copies, and rent receipts in one folder from day one.
- Skipping the warden's number. Save it, plus one neighbour's number, before you sleep.
Your printable day-one checklist
| Block | Tasks | Time |
|---|---|---|
| Walkthrough | Mattress, fan, lights, cupboard, taps, damage. Photograph and report. | 15 min |
| Hour 1 | Clean mattress, desk, cupboard, floor, window | 60 min |
| Hour 2 | Protector, bedsheet, pillow, bedside caddy, clip lamp | 60 min |
| Hour 3 | Cupboard zones, shelf dividers, toiletry kit on a hook | 60 min |
| Hour 4 | Desk clear, laptop, organiser, cable routing, whiteboard | 60 min |
| Last 30 | Photos, lights, plant, roommate conversation, save warden's number | 30 min |
Your first week after setup
Give the room one 10-minute reset every evening for the first week and the setup holds for the whole semester. Put things back in their assigned slot, clear the desk, and move laundry to the bag rather than the chair.
By day seven you will know what needs adjusting: maybe the lamp is in the wrong place, maybe the cupboard zones need swapping, maybe the bed faces the wrong way for morning light. Fix those in one sitting on the first weekend. After that, the room stops taking any thought at all, which is the entire point of doing the setup properly on day one.